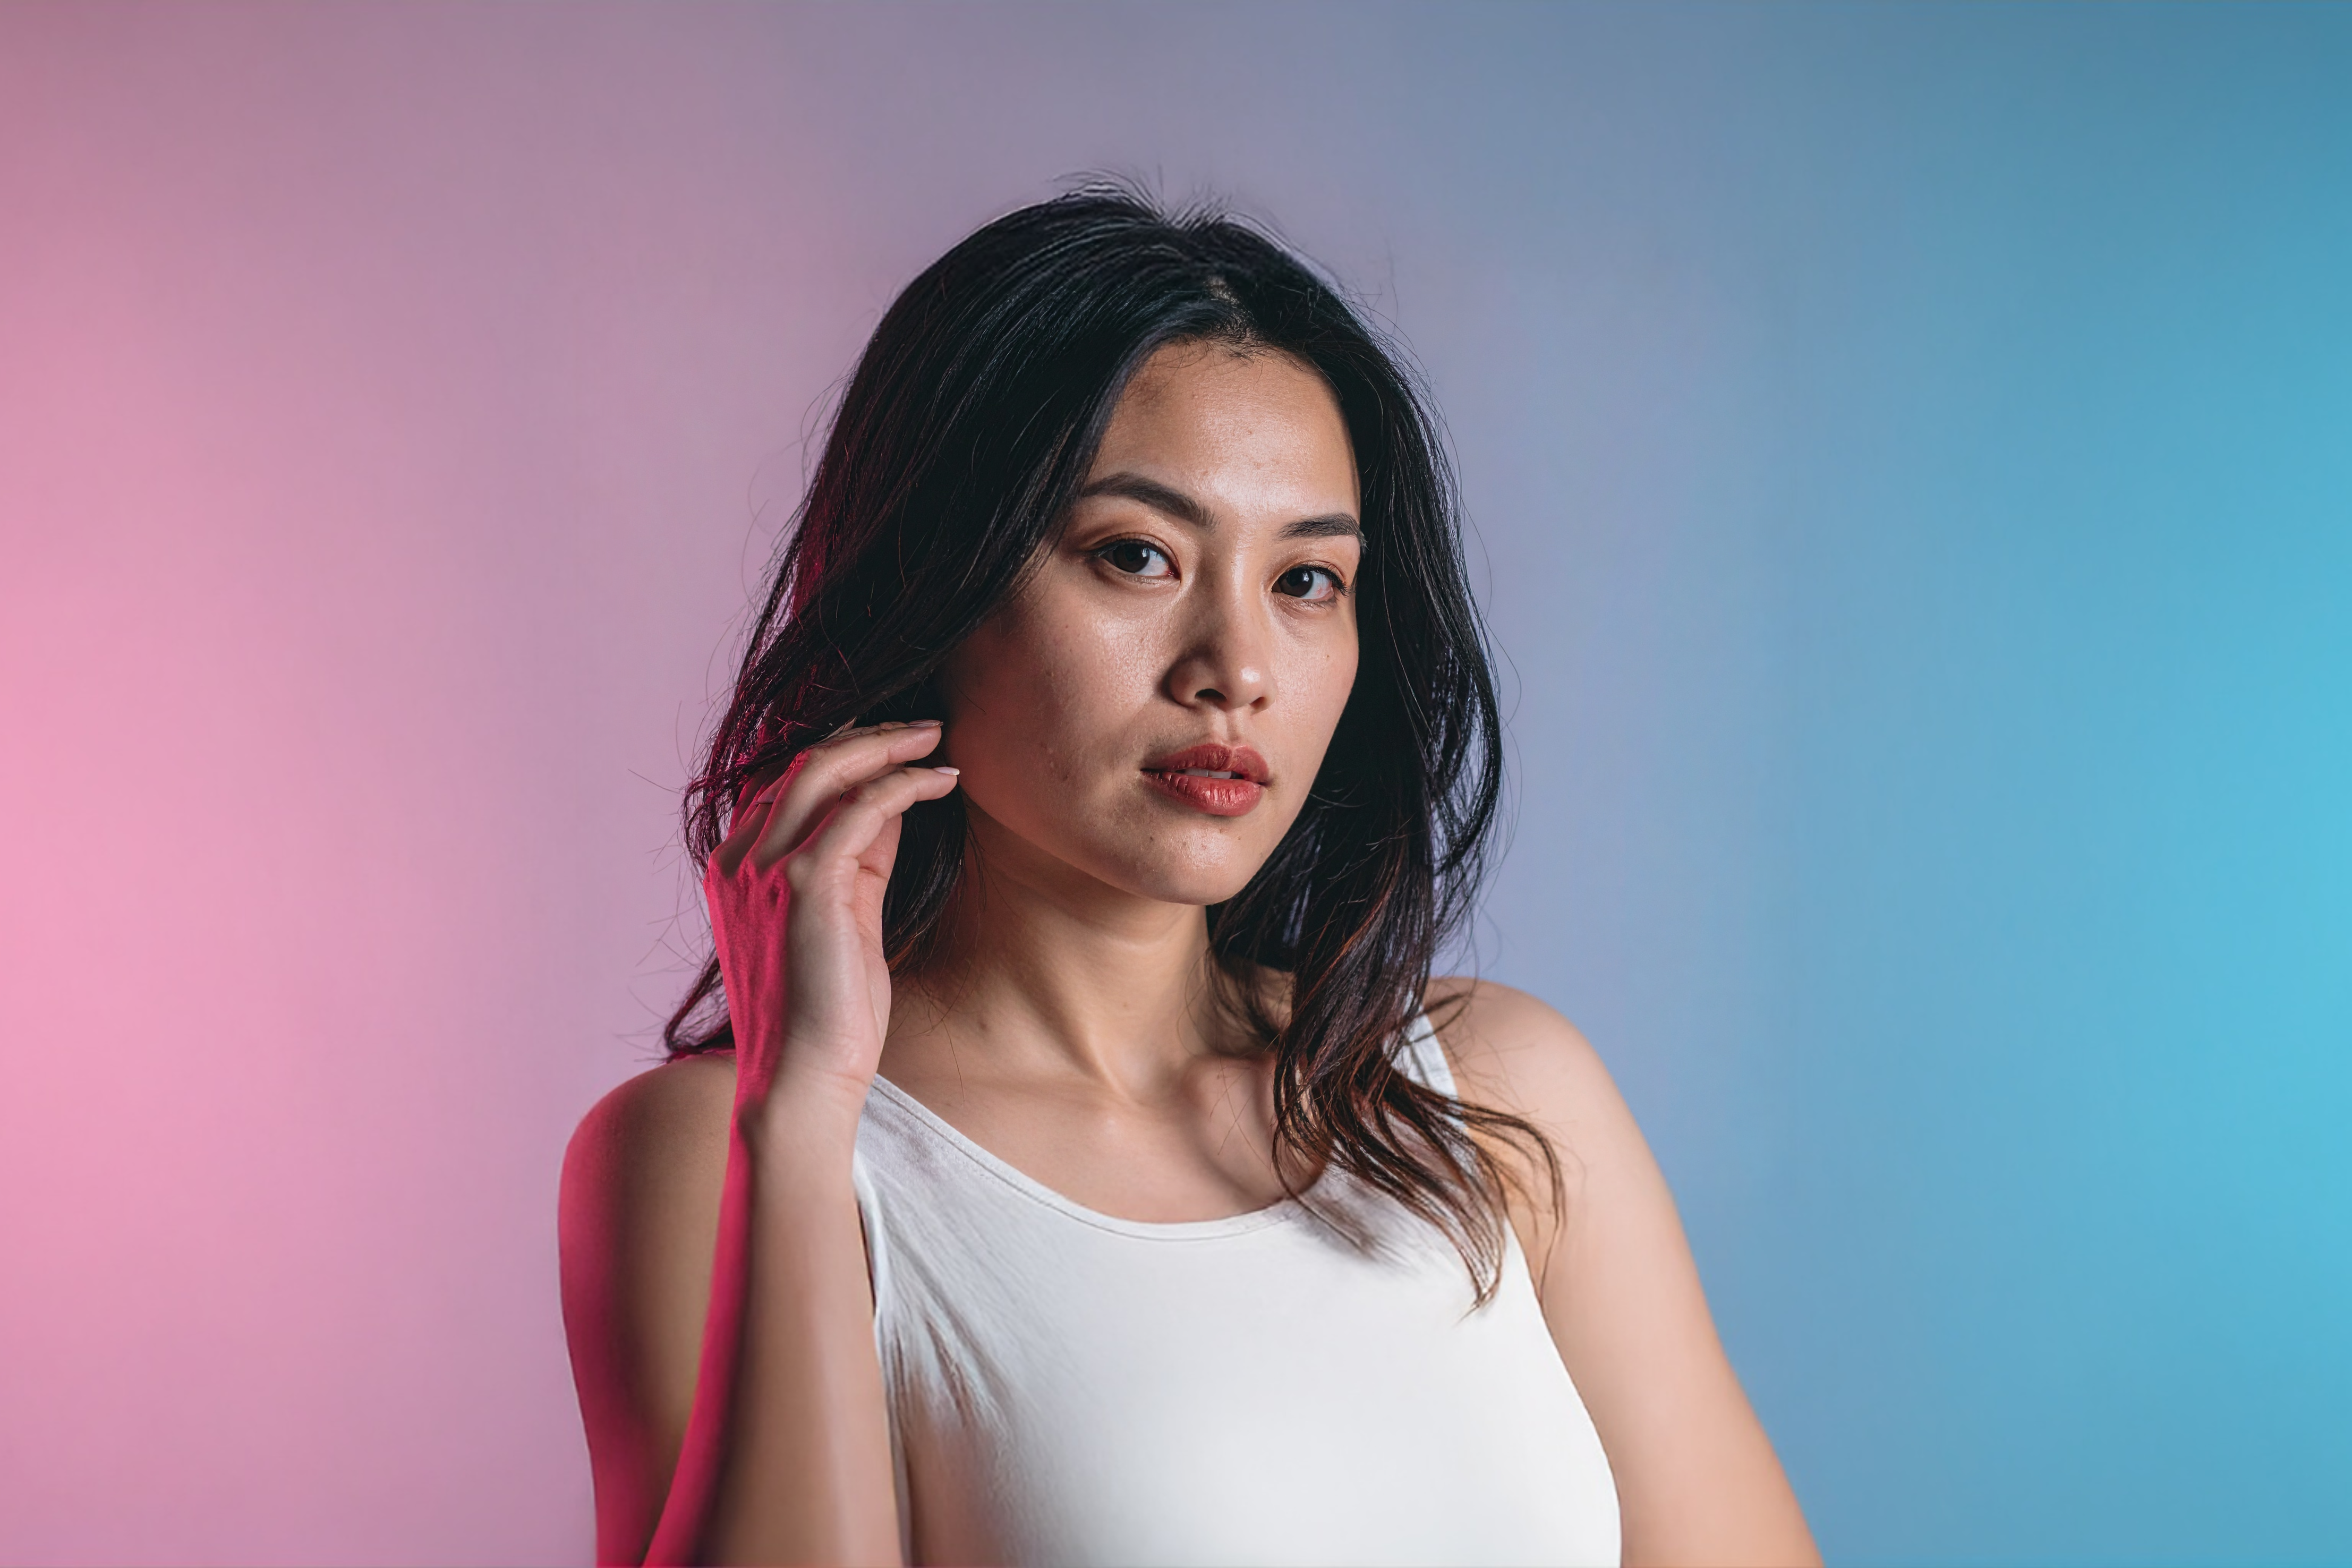
Welcome to the world of visual storytelling! As you delve into video editing and filmmaking, you’ll inevitably encounter the terms color correction and color grading. While often used interchangeably, they represent distinct yet interconnected stages in the post-production process. Understanding the nuances of each is crucial for achieving a polished and impactful final product. This guide will provide you with a beginner-friendly introduction to these essential techniques.
What is Color Correction?
At its core, color correction is about fixing technical imperfections in your footage. Think of it as ensuring a neutral and consistent baseline for your visuals. According to Alexis Van Hurkman in the Color Correction Handbook, when the color temperature of the dominant lighting in a scene isn’t properly accounted for during filming (through film stocks, filtration, or white balance), a color cast will be recorded. Color correction aims to neutralize these unwanted color casts and balance the overall image.
Daria Fissoun, in Color Correction with DaVinci Resolve 16, highlights that in documentary filmmaking, balancing footage is particularly important because videographers often shoot in various locations with less control over lighting conditions. This initial stage of color correction often involves adjusting the tonal range and contrast of the image. Steve Hullfish, in The Art and Technique of Digital Color Correction, emphasizes that the first order of business when working on an image is usually “correcting” the scene, making bad images look okay and decent images look good.
Key aspects of color correction include:
- White balancing: Ensuring that white objects in your scene appear truly white, thus affecting all other colors in the image.
- Exposure correction: Adjusting the overall brightness of the image to proper levels.
- Contrast adjustment: Enhancing the difference between the light and dark areas of the image for better clarity and depth.
- Saturation adjustment: Controlling the intensity of the colors in the image.
What is Color Grading?
Once your footage is technically sound and color-corrected, color grading takes over. This is the more creative and subjective stage where you shape the mood, atmosphere, and overall aesthetic of your film or video. Van Hurkman describes this as giving programs a “creative polish”. Color grading is where you infuse your visuals with a specific “look” that aligns with your storytelling goals.
Charles Haine, in Color Grading 101, explains that color grading balances technical aspects like color-matching with artistic chapters on contrast, aesthetic trends, and building a color plan. Experienced colorists, as Hullfish notes, use tricks to enhance the perception of an image’s tonal range and understand that not all images need to be at maximum brightness or contrast; some scenes benefit from warmer tones and lower contrast, like the long shadows of dawn or dusk.
Key aspects of color grading include:
- Creating a specific mood or atmosphere: Using color to evoke emotions like warmth, coldness, tension, or tranquility.
- Establishing a visual style: Developing a consistent look across your project, which might involve specific color palettes or stylistic choices.
- Enhancing storytelling: Guiding the viewer’s eye and reinforcing narrative themes through color.
- Matching the look of different scenes: Ensuring visual consistency even if shots were filmed at different times or locations.
The Interplay Between Correction and Grading
It’s important to understand that color correction typically precedes color grading. You need a well-balanced and technically accurate image before you can effectively apply creative color treatments. However, the lines can sometimes blur, and certain adjustments might serve both corrective and creative purposes.
Getting Started on Your Color Journey
Whether you’re using dedicated software like DaVinci Resolve, or color correction tools within your editing software like Adobe Premiere Pro or Final Cut Pro, understanding these fundamental concepts is the first step. As you explore further, you’ll discover a vast array of tools and techniques to refine your visuals.
Stay tuned for our next article, where we’ll delve into the essential concept of color temperature and its impact on your video projects. Don’t forget to check out our free LUTs library to kickstart your grading workflow.
Related Posts
March 25, 2022
How to Trust your Intuition when You’re Making a Decision
When you are alone for days or weeks at a time, you eventually become drawn to…

